Due to the coronavirus outbreak, need make a simple device for body temperature reading. It’s a circuit to be able to read 4×4 temperature matrix data from a D6T sensor and transfer data frames to the host through USB or ethernet.
Hardware
- OMRON D6T-44L MEMS thermal sensor
- Arduino Pro Micro board taobao
- CH9121 UART to Ethernet module taobao
Circuit
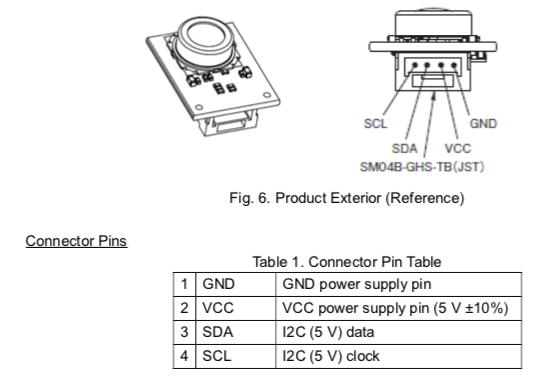
D6T SCL <-----> Arduino Pin 3 (SCL)
D6T SDA <-----> Arduino Pin 2 (SDA)
D6T VCC <-----> Arduino VCC
D6T GND <-----> Arduino GND

CH9121 RXD <-----> Arduino TX
CH9121 TXD <-----> Arduino RX
CH9121 GND <-----> Arduino GND
CH9121 5V  <-----> Arduino RAW
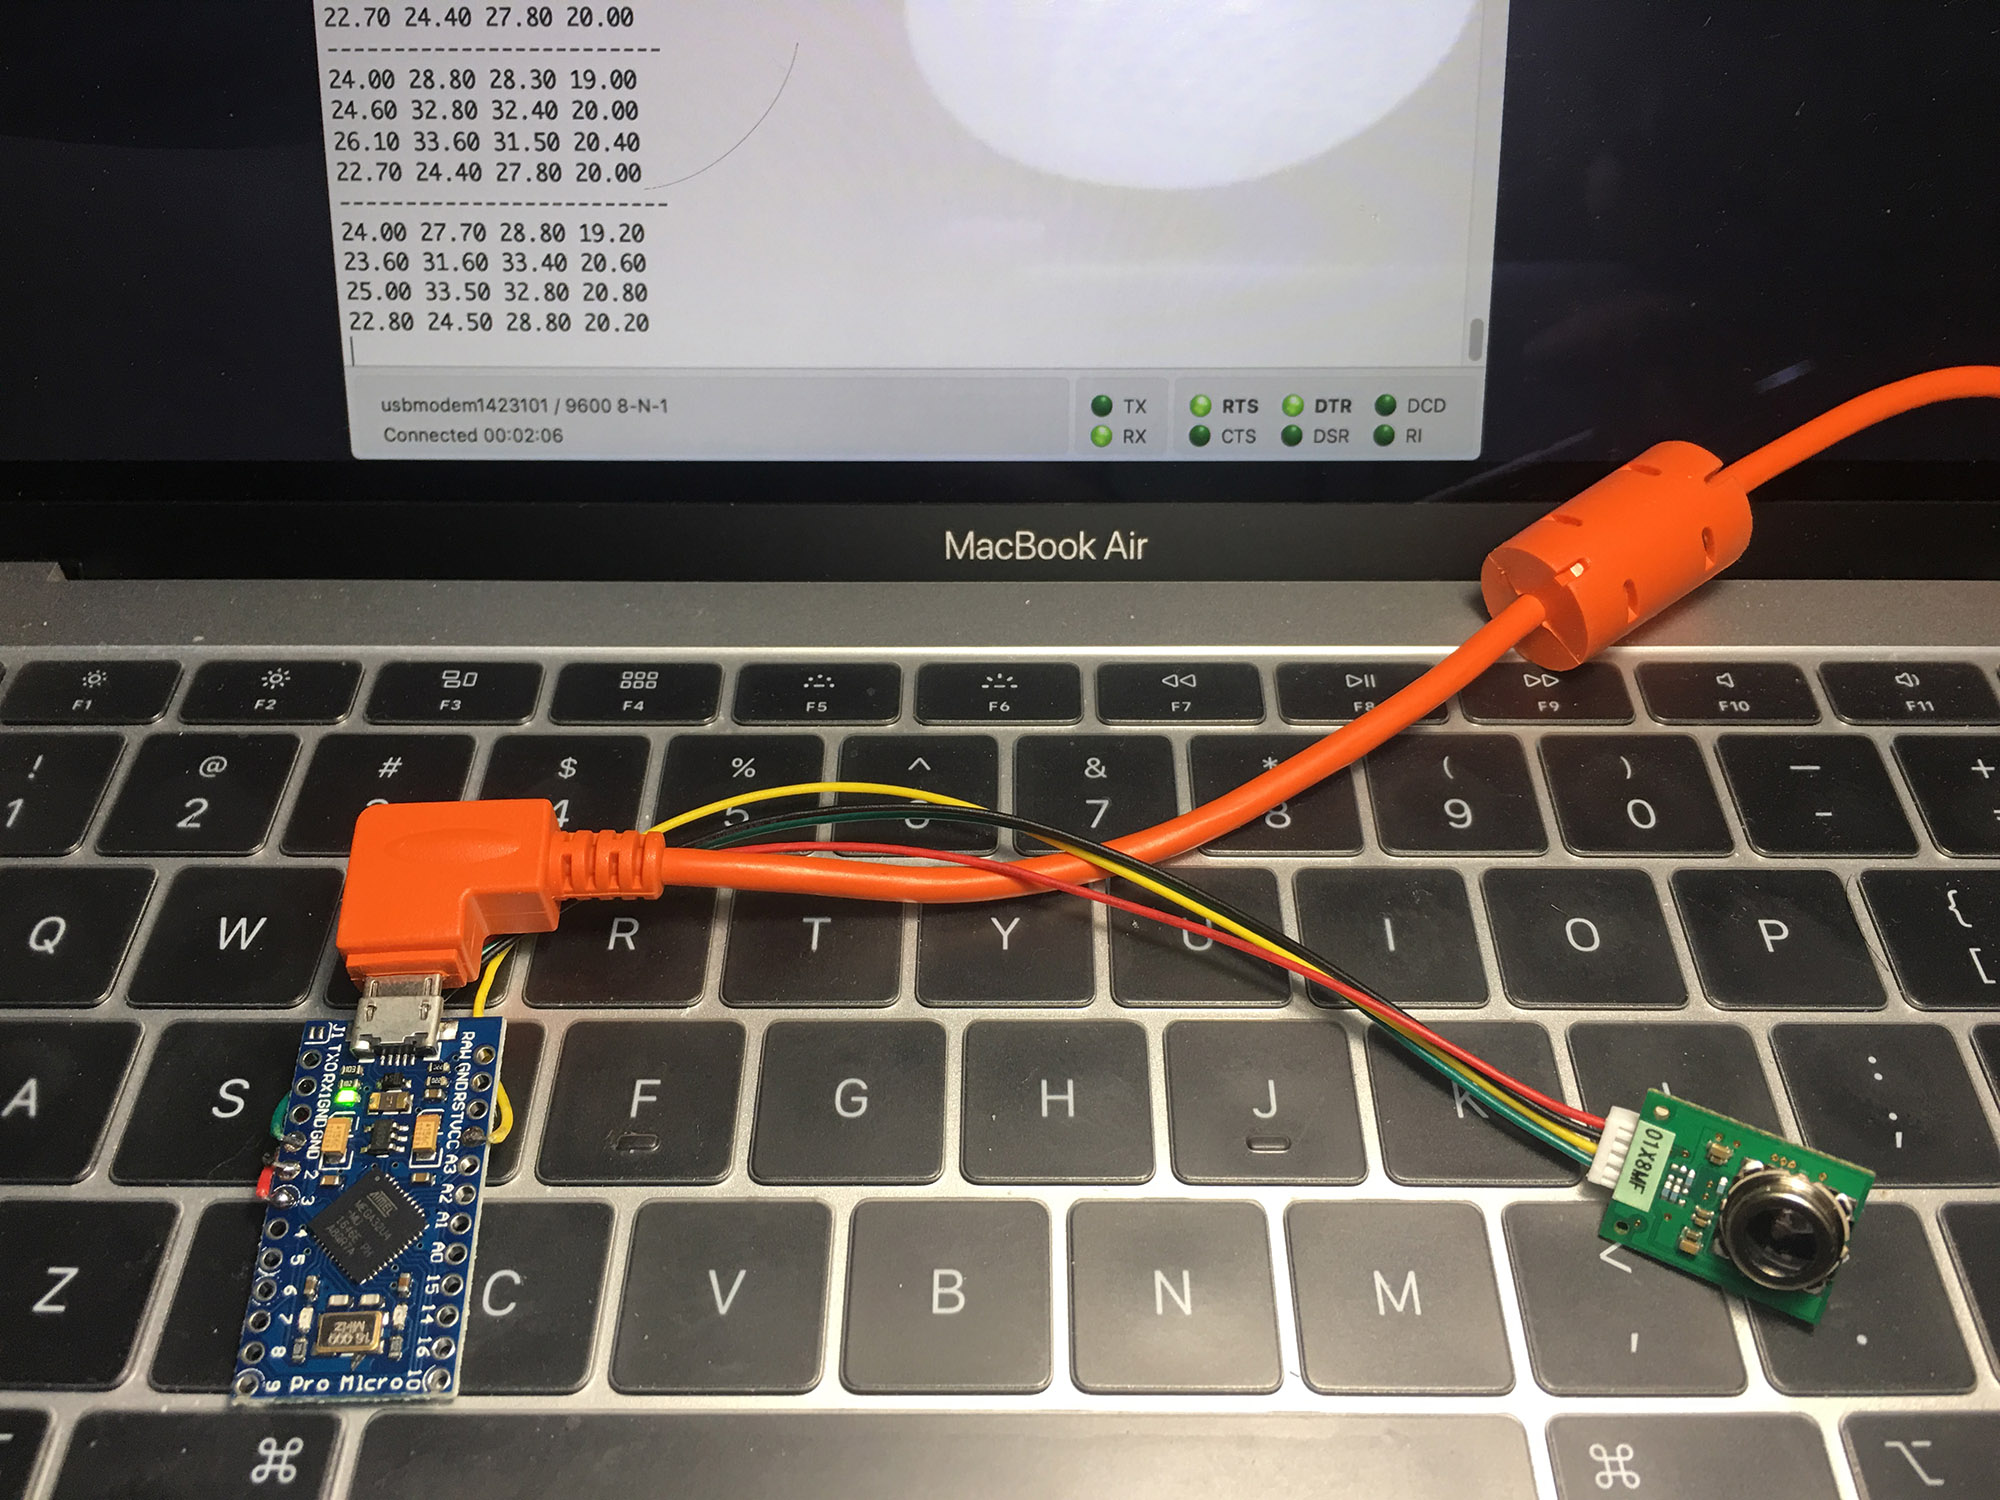 D6T to USB
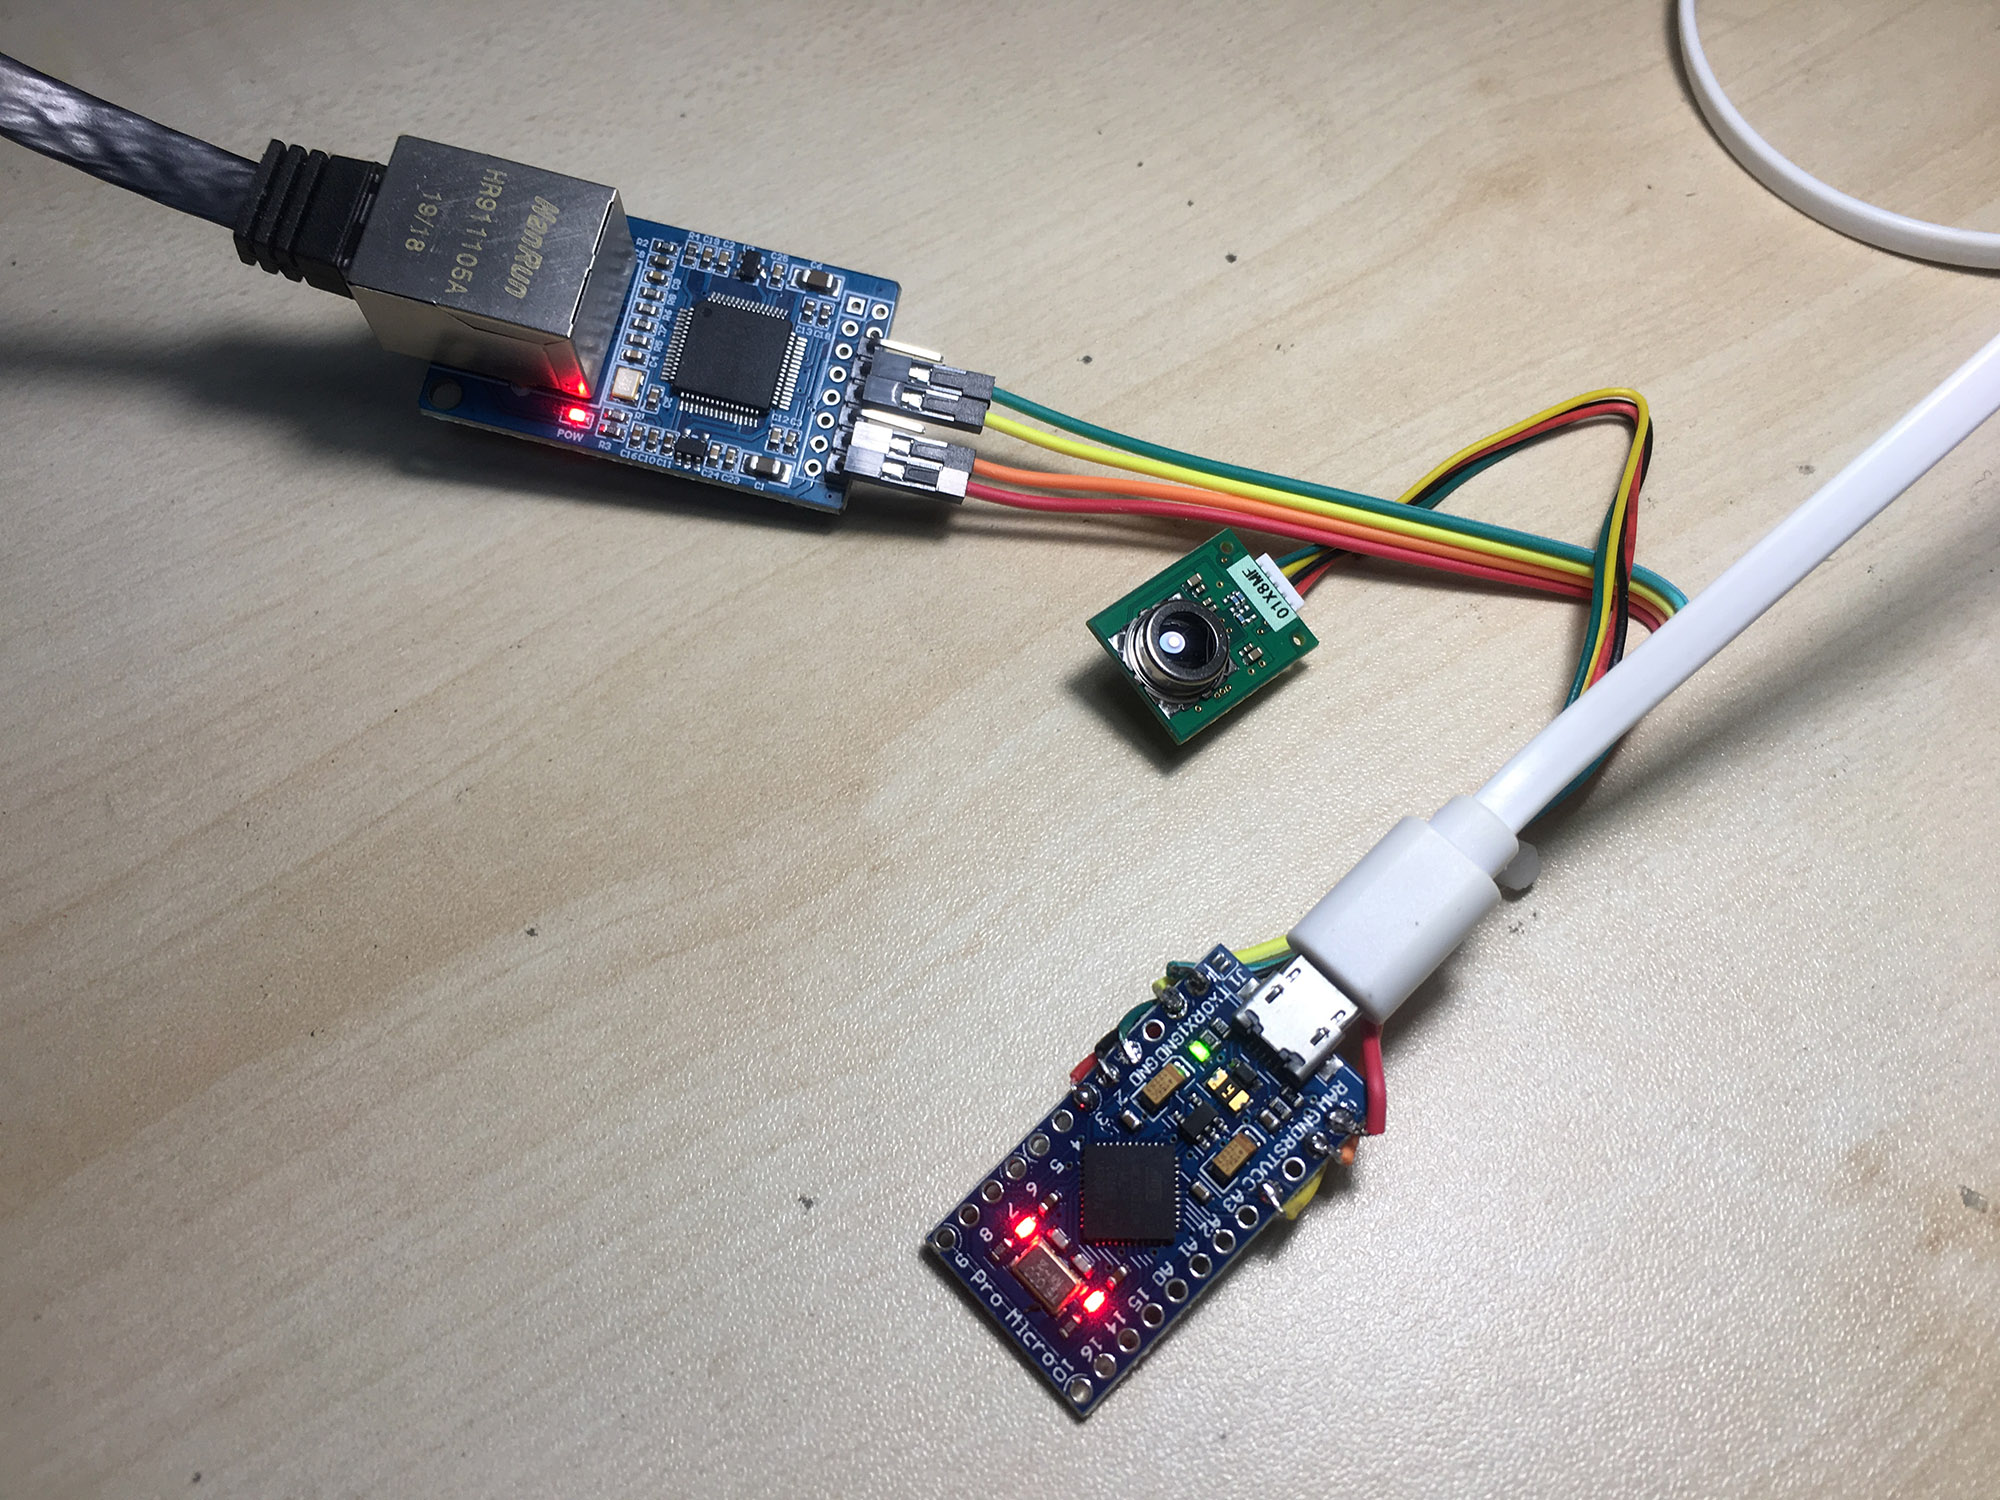 D6T to Ethernet
Software
D6T library for Arduino is required, download it from github
github.com/omron-devhub is the OMRON official github site for developers.
D6T to USB Here is an Arduino example to capture temperature values from the sensor and transfer data frame by frame to USB serial port.
#include "OmronD6T.h"

OmronD6T sensor;

void setup()
{
  Serial.begin(9600);
}

void loop()
{
  sensor.scanTemp();
  Serial.println("-------------------------");
  int x, y;
  for (y = 0; y < 4; y  )
  {
    for (x = 0; x < 4; x  )
    {
      Serial.print(sensor.temp[x][y]);
      Serial.print(' ');
    }
  }
  delay(1000);
}
D6T to Ethernet Alternatively, we could also make the Arduino TX/RX pins to connect with a CH9121 module. Therefore, all data frames will be transferred to ethernet port on CH9121. Important, with an Arduino Pro Micro (or Arduino Leonardo) board, we must replace Serial with Serial1 in the program to handle TX/RX pins on the board. Serial is for USB serial port only.
#include "OmronD6T.h"

OmronD6T sensor;

void setup()
{
  Serial1.begin(9600);
}

void loop()
{
  sensor.scanTemp();
  Serial1.println("-------------------------");
  int x, y;
  for (y = 0; y < 4; y  )
  {
    for (x = 0; x < 4; x  )
    {
      Serial1.print(sensor.temp[x][y]);
      Serial1.print(' ');
    }
  }
  delay(1000);
}
As the factory default configuration on CH9121, the device IP is 192.168.1.200 and the CH9121 module employs TCP client mode to communicate with the host computer.
In this case, links the device to a host computer with a cable. Then, we need set the host computer IP as 192.168.1.100 and set up a TCP service to listen port 1000. The device will connect to the TCP service automatically and all continuous data frames will be sent to the host computer through the ethernet.
Recent Comments